Tuesday, February 27, 2007

Why Are Chelsea Charms Boobs So Big?

Some pictures of the show

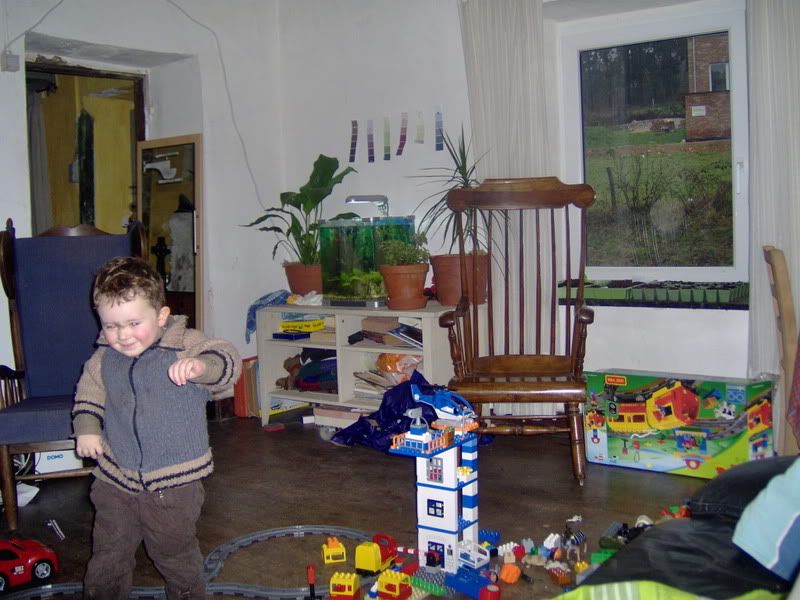
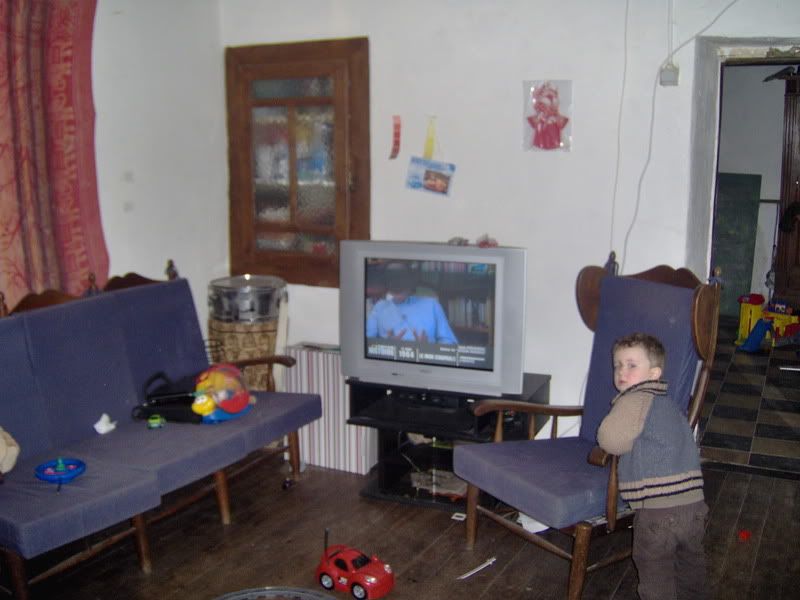
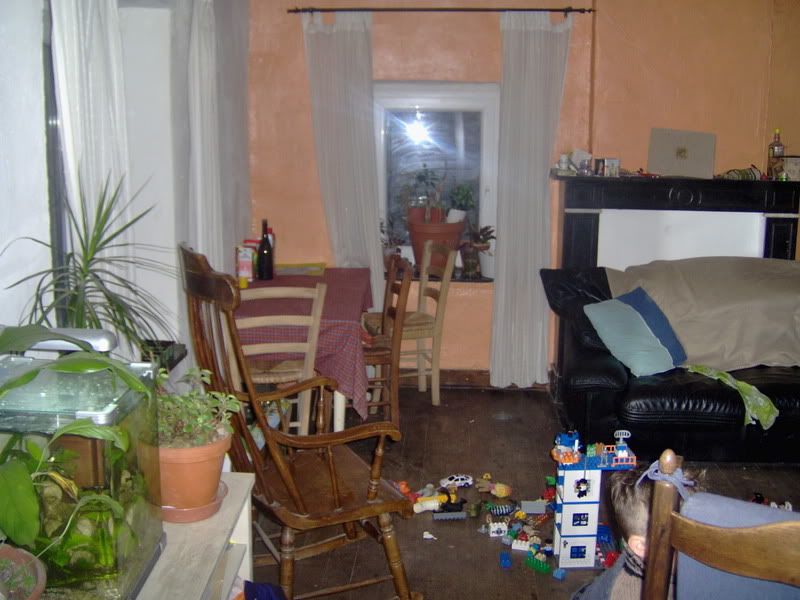
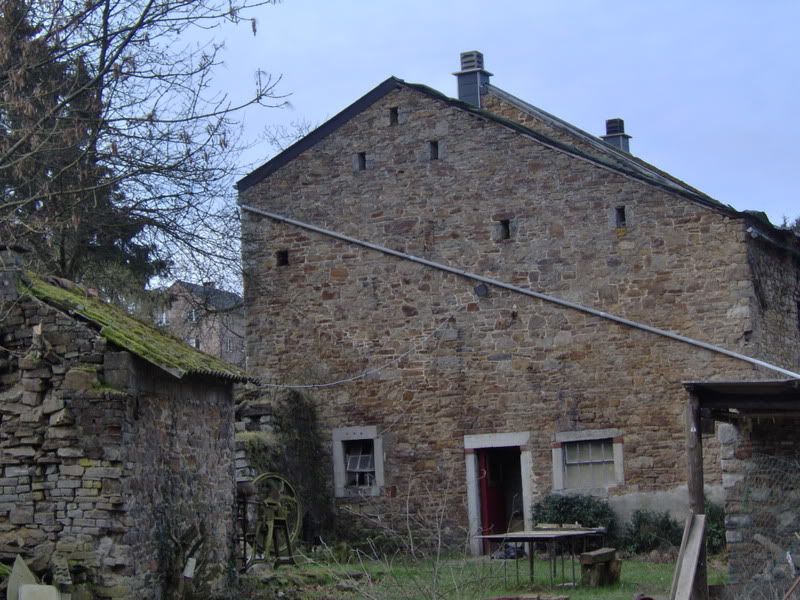
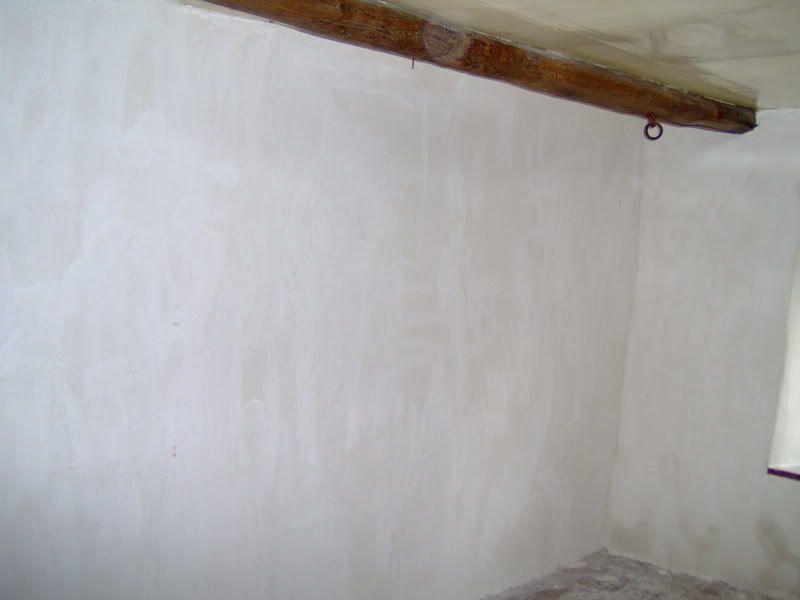
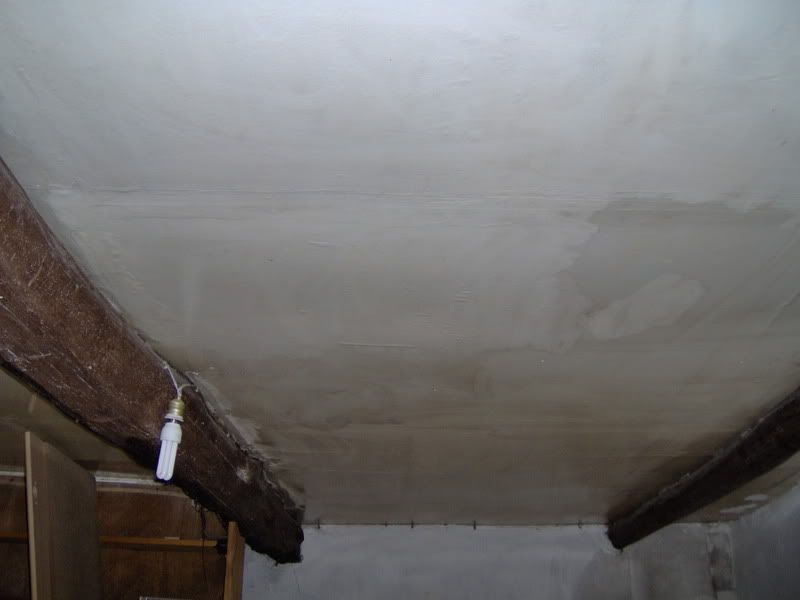
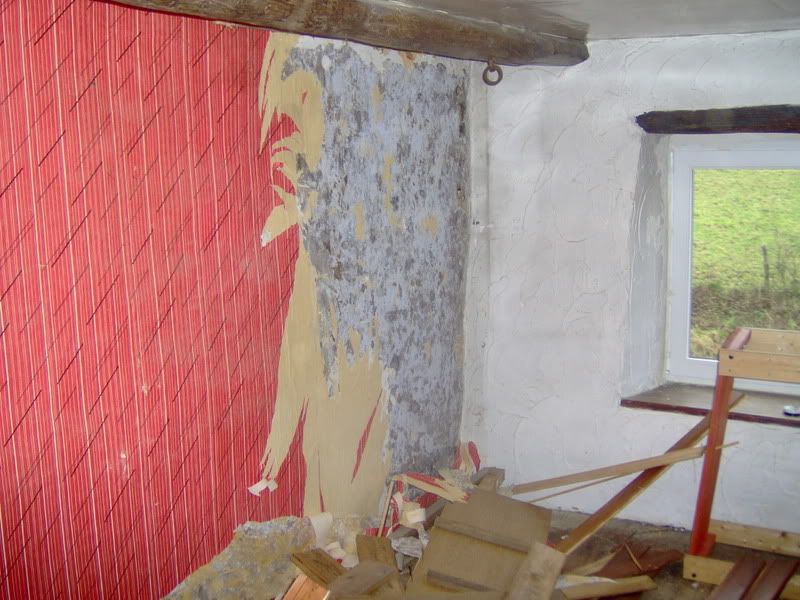
Our main living room At the moment, we hope to transform into a beautiful kitchen this year ... It is time to take some pictures to show the evolution ...


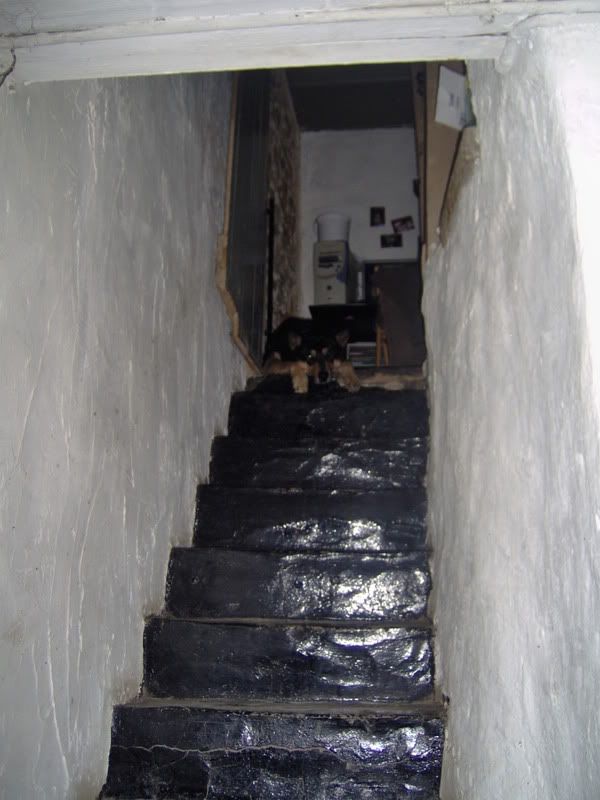
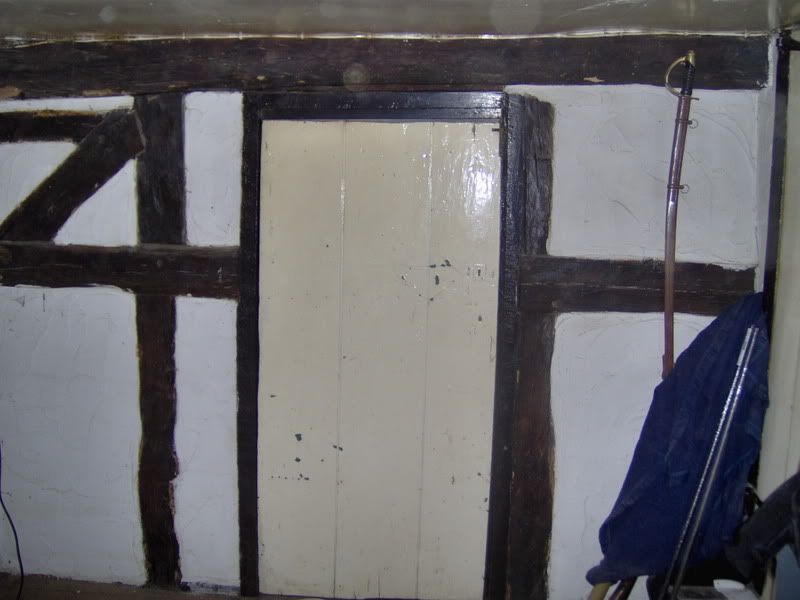
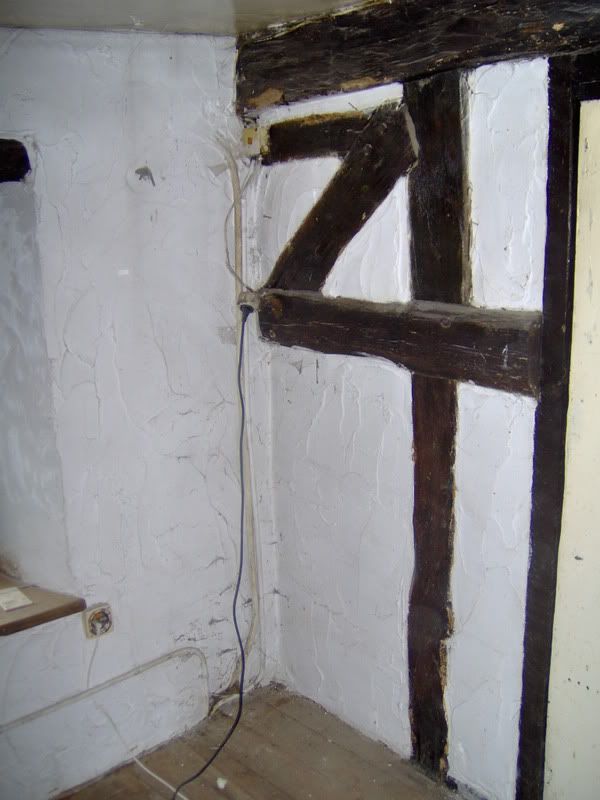
The stairs of the current kitchen:

Monday, February 26, 2007

Women's Head Scissors Wrestling

REMOVING A THREE-PIECE CRANKSET

There are three types of bicycle pedals. The pedals one pieces generally found on BMX bikes and low ranges, the bracket in three Songs and pedals in a cartridge. The last two are generally the same size and are interchangeable on the same bike frames.

Today, we will dismantle a three-piece. This kind of pedal is very common, it is found on most bikes for over a hundred years. When you take a pedal arm and it moves in unison with the other side so there are things happening not too good inside. Excessive wear of bearings, a chronic lack of grease, bearing parts not tight or a honeycomb (That are to me ever!).

The pedal is pretty simple. You have axle bearings with two rings, two rings of ball bearings, two parts which all followed suit ("bearing cups) and a ring nut to close the assembly in place.


(click on photo for larger image)

1 - The tools needed are: A pair of pliers plumber, a "ratchet" with a 14mm socket and a tool to pedal arm. The latter is a must to remove the crank arm, there is no other way.

2 - Remove the plastic cap that is above the nut of the arm. Go easy, if it breaks you'll lose a lot from time to scrape it out from there.

3 - Remove the nut with 14mm socket.

4 - Insert the tool into the crank arm screw to the bottom. Use pliers if necessary.


5 - Hold the pedal arm and turn the handle of the tool. The arm should come off by itself.

6 - Made the same approach on the left side.

7 - Remove the nut that holds the pedal box in place. Commonly called "lockring" here.

8 - Make a prayer for this piece is not made strong! You now have before you the "bearing cup" on the left side without the "lockring" and you'll have to remove it to access the axle and ball bearings.


9 - With the pliers plumber, take the piece and hold it there firmly. Unscrew normally while being careful not to damage the threads of the piece.

10 - Well, you now have access to the axle and ball bearings. Remove everything and place them somewhere safe.

11 - Always with pliers plumber, firmly grasp the piece on the right side and go in the direction of the needle clockwise to unscrew it. Be careful, there's not a very large area for your clips and it is very easy to slip from the room and pinching seriously. Ouch damn shit!

12 - Inspect all parts. If you see small holes in the line of rotation of the axle or the "bearing cups, you are just a few kilometers from the terminal phase for your bearings. Balls fall too easily from the crown? They are worn and need replacing. Clean any way religious, use of good fat green and made the same process in reverse to reassemble your pedals. Of course, you will not have to use the tool to pedal arm. Make

attention, it makes sense to the axle. The right side is where the distance between the bearing ring and the screw is greater. Engrennages of the chain are on the right side, so the axle must be longer on this side.

Good luck and keep your hands dirty!

Till next time. Gerald

Thursday, February 22, 2007

Gifts To Get For Stroke Patients

Photos taken today

As promised ...
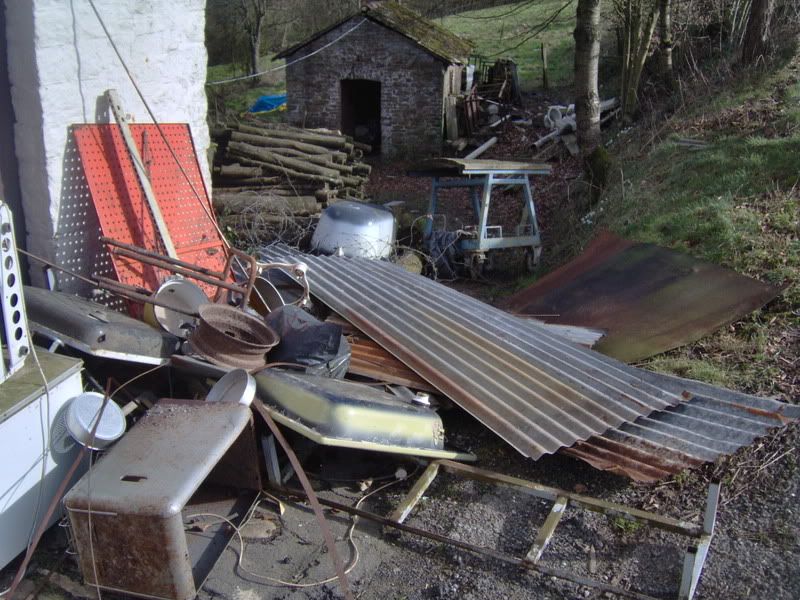
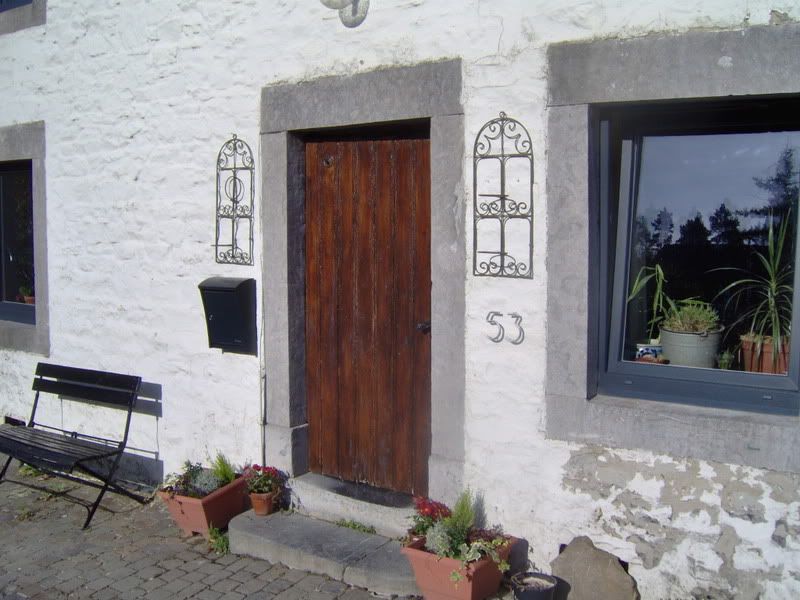
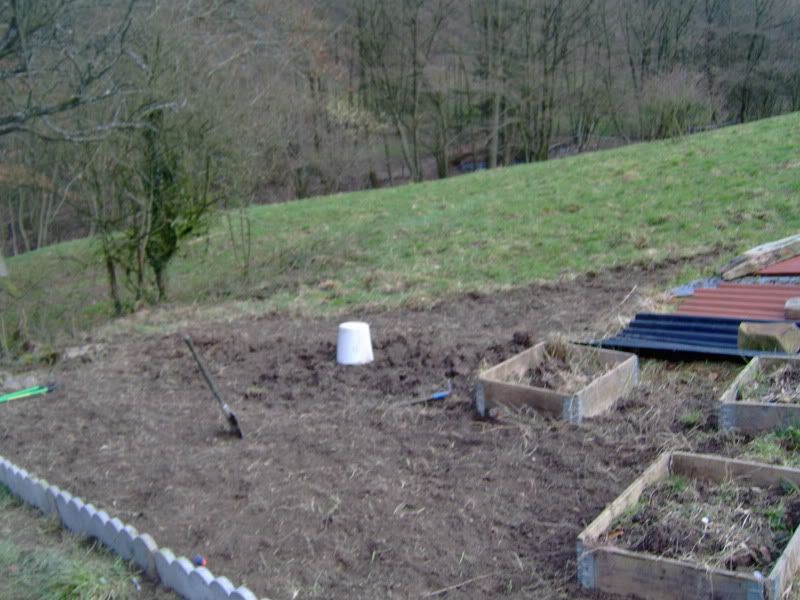
The "pebbles" removed from the garden under construction
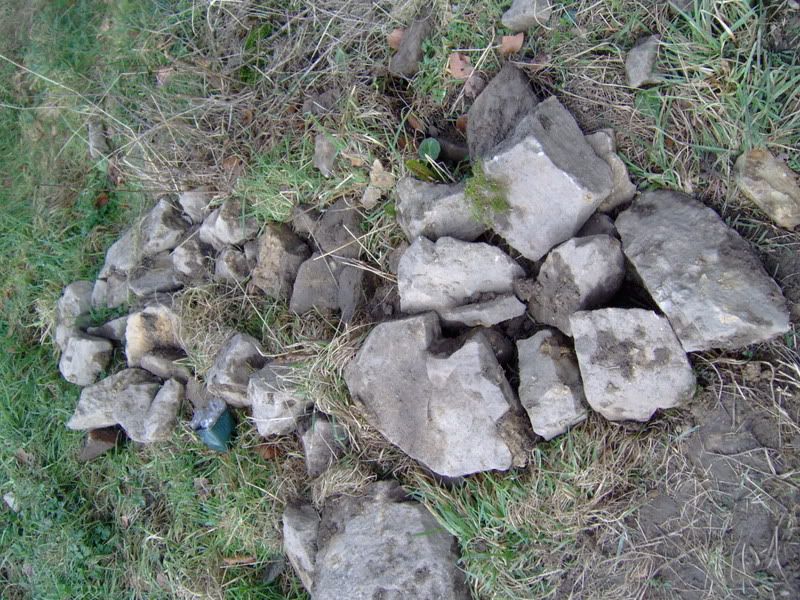
My Assistant:


The facade is Far away the shrub which invaded last 15 years and we have severely cropped so that it no longer exceeds the window sill. This summer we hope to have moved the horrible gutter and created a pool to collect rainwater.


The back wall of the chamber of Louis, and Detapa replastered by Cedric:


The ceiling of the room of Louis, very very dirty, as we'll line:


Wednesday, February 21, 2007

Patches Flaky Skin Dog

Some new photos

We started to arrange the room of Louis, inventory at the start of work:


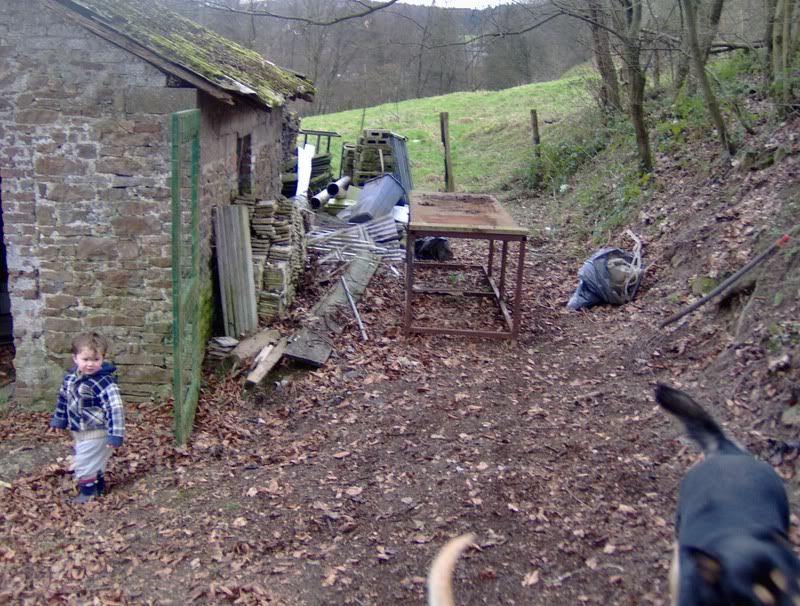
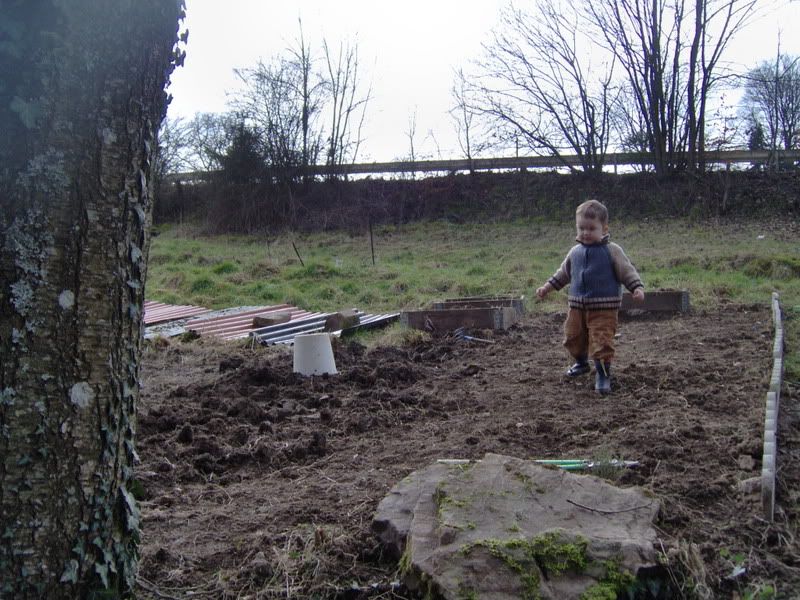
This has progressed well since then, new pictures soon!
the garden as we continued our projects, the garden moved here as it has since changed the picture, I'll put a newer very soon!


A wrecker has rid us of this:


allowing us to see a little clearer next to the bakery ... alas it still much much mess left by the former tenant ...


The front this fall The door was stripped and dyed, it will make a restoration carpenter, that's for later ... Today February 21 tulips are beginning to show in bins, I'll make a photo as they are in bloom ...

Monday, February 19, 2007

Victoria's Secret Model Bmi

JOURNAL OF THE 5TH OR Expodium Bicycles

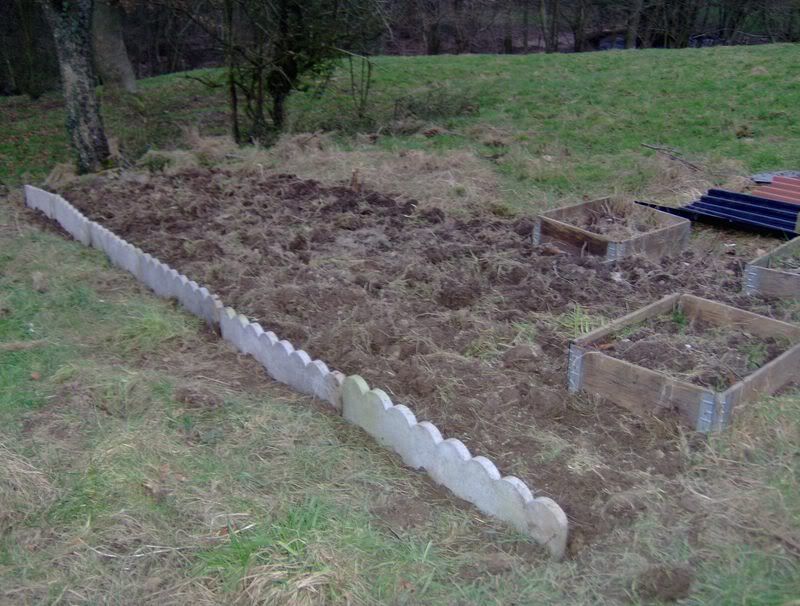
5th Bicycles and Cycling


I attended last Saturday for the first time at this exhibition and I must admit that I have enjoyed the experience. Although I press accreditation, I still paid the $ 10 being asked at the entrance to give you a real assessment of event. There is no substitute for hard earned $ 10 out of his pocket.


Aside from the chance to enjoy a little spring artifice iel, the show offered a variety of exhibitors all as interesting as each other with a minimum of kiosks not report such seller of laundry eyeglasses. These kiosks were replaced by bodies to good causes such as fighting cancer and God in the street. A good thing for these organizations and I must stress the very original presentation of young ladies with their underwear over their clothing to promote the fight against cancer below the waist. Had to be there to understand ...

Good move on to serious things. Several manufacturers and retailers were represented as Look, Marinoni, with its range Procycle Rocky Mountain Intercycle, Kuota, Shimano, Gary Fisher, Free Agent, KHS, Louis Garneau, and so on. The absence Norco has been noticed by many. The bikes were very elongated in this position with the people 1HP Cycles, Bluevelo duo with their bike taxi with his pedals and bile production Québecoise VPA. The Soaring assisted electric bike was also represented by the Montreal Bike Connected with several models. The test track was a great tool for testing these devices.


Several agency bikes were also present as Techno Cycle, Cycling Academy in Quebec, several bike clubs and the ADSMQ who work to promote the creation Trail for mountain biking. Bin yes, trails in Quebec begins to disappear despite all the space we a. Must see to keep them.


This show is a dream place to plan your trips to bicycles for the summer. All of Quebec is represented, Mascouche through the Beauce region and central Quebec. Even the Mayor of Venise-en-Quebec was on hand to promote his region. Proponents of cycling region was not confined to Quebec. The City of New York, London, Vermont and even in Martinique were represented.

There was also the movie all day with demonstrations of trial by Ryan Leech, a cycling fashion show and conferences throughout the day on various topics related to cycling.

Comments collected from visitors was overwhelmingly positive about the event in general. The mountain people felt that there were too many road bike and the road were people there were too many mountain bikers. I found that there was not enough kind cruiser bike! Well we can not please everyone. An interesting note is a young man who was willing to spend money, but has finally succeeded only spent $ 4.

Ultimately, I have not found anyone who did not get their $ 10. So I guarantee you that I go back next year to spend the winter a little faster than a day and bring you more news. Keep an eye on the blog for other articles, I have met people and interesting things to show, as this fantastic line of cycling clothes for women built in Quebec by KSL creations .

Congratulations to the developers, they deserve to be promoted next year.

you soon

Gerald

Monday, February 12, 2007

Black Females Materbate

HOW TO REMOVE A WHEEL BICYCLE


Ok, if you're mechanically you do not realize that sometimes the world does not know how to do certain things that are pretty simple at the base. The perfect example is how to remove a wheel. If you do not know how, this is the article for you. We'll start with the front wheel. The front wheel

most easy to remove is that of a bicycle at a speed that has no front brake. Simply undo the bolts and removing the wheel from the fork. For a wheel with brakes, you must clear the brakes before turning. Certainly, if there is no air in your tire, you will not need to do this. For cons, the wheel will want to know anything to return the fork with the tire inflated to block! The easiest way is to remove a brake shoe, or a "pad" of brake, front brake. Easier to readjust the brake pad in full. The only thing to check when reinstalling the wheel is to ensure that cycling is on the ground to be sure that the wheel will be centered in the fork by putting some weight on it when you tighten the bolts. a front wheel not centered, it affects the handling seriously.

For the rear wheel, there are three main types. The wheel with coaster brake (A speed brake by pedaling backward), the three speeds and internal (Nexus, Sturmey Archer) and the wheel with multi-speed derailleur.

wheel coaster is pretty simple. Be sure to disconnect the brake arm that is attached to the frame on the left before doing anything. Leave screws and bolts for the bracket after losing. Unscrewed bolts of the wheel and push the chain off the gear of the pedal while you remove the wheel.

The wheel speed internal removed in the same way. The only difference is that you disconnects the cable connected to the gear mechanism on the hub of the wheel.

wheel derailleur request that the string should be placed on the last engrennage near the frame. Unscrew the wheel bolts, slide it forward while pushing on the gear shift to release the chain. In all cases of multiple wheel speeds, you must defeat a brake pad. (Hmmm, nice mixture Franglais here ...) To reinstall

the wheel, resting on the chain all engrennages before inserting it into the frame. In the case of the wheel to derail, the last engrennage. Enter the right side of the wheel well back to the wheel and derailleur to get a good tension in the string with the other. Tighten the bolt right where you are satisfied. Then look at the wheel vis a vis the frame near the crank. Align the wheel with one hand and tighten the bolt with the other left. Your rear wheel should now be secured in place and the right. It remains only to reconnect the cables, brake arm or brake pad.

No more complicated than that. :) Until next

.

Gerald

Saturday, February 10, 2007

Can You Sleep In An Xterra

HOW TO TURN A LIGHT BIKE WITH WHITE DIODE FOR ONE DOLLAR


I have in my possession some old chrome bike lights. They are very beautiful, but for the quality of light is not strong! Connected to the battery does not last long and a dynamo ... we forget that. The energy of a dynamo is neither free nor consistent. Diodes by cons are very brilliant and the energy consumption is minimal. Between

in our history a little trip to my favorite Dollarama this week to discover small reading lights for the low price of .... one dollar, included batteries by the bargain. My initial idea was to dismantle it to find a way to incorporate it into my old bike lights. All this to realize that the LED lamp is almost perfectly into the base of the light. Here's how I did: 1-

Gather the necessary equipment
Light Bike Lamp LED

tape (in this instance, the hockey stick tape, I'm from Montreal, after all!) A pair of pliers


2 - Remove the bulb and attaches the base of the light. Remove the clamp and cut the arm attaches to the LED lamp.

3 - If necessary, LED lamp wrap tape to enlarge the diameter to get a good fit.

4 - Insert the LED lamp in the base of the light.

5 - Secure the LED lamp by applying the tape.

6 - Push all Brackets and fasteners inside light to clear the path. Click the button to light the lamp, close the assembly and voila! Was light.

The only disadvantage is that you must open and close the assembly of light when you want to open and close the diode. By cons, it is cheap! In the light, you have ample room to keep batteries replacement.

The options are many with these small LED lamp, do not be shy to send me your creations.

Till next time.

Gerald

Wednesday, February 7, 2007

Hernia Hiatal Clear Mucus

AUTOPSY A BIKE CHEAP!


I had a chance last week to find a cruiser style bike in ads kijiji Montreal for $ 85. The chances of finding a bike like this are rare, especially in the middle of winter. This is the first time I touch a Huffy American and I know very well that this is not a high end bike. In wanting to remove the wings, I had to first remove the wheels. By removing the front wheel, I heard a noise from loss of the ball bearing of the fork ... it sounded pretty dry!

Indeed, I disassembled the fork for me to realize that there is not a drop of grease throughout the assembly. I then inspected the rotation of the pedals to make the same discovery. No fat Pantoute! This bike has never had an interview and it is quite recent. It surprises me because in general the same old bike "cheap" has a remaining fat at these locations. Bearings wrong, or not greased slow the bike and makes it harder to pedal. If you must buy a bike in a large chain in the kind of it, allow an amount for inspection and preparing your local bike shop. The chance to buy a bike in this condition in a store is almost nonexistent.

Finally, this bike will be changed to "custom" and is ultimately a blank canvas that will be improved over time.

the next

Gerald